
P16 Label Template Exclusive -
The p16 label template exclusive is a powerful tool that has revolutionized the way researchers and laboratory professionals create labels for their samples. By providing a precise and standardized format for labeling samples, the template ensures accurate identification and tracking, streamlining workflows and improving efficiency. With its customizable features, pre-designed format, and barcode compatibility, the p16 label template exclusive is an indispensable tool in laboratory research and diagnostics. By following the tips and best practices outlined in this article, researchers and laboratory professionals can make the most of this innovative tool, unlocking its full potential and advancing their research and diagnostic capabilities.
In the world of laboratory research and diagnostics, accurate identification and tracking of samples is crucial. One essential tool in achieving this is the p16 label template exclusive. This powerful template has revolutionized the way researchers and laboratory professionals create labels for their samples, ensuring precise identification and streamlined workflows. In this article, we will explore the world of p16 label template exclusive, its benefits, features, and applications, as well as provide a comprehensive guide on how to make the most of this innovative tool. p16 label template exclusive
The p16 label template exclusive is a specialized template designed for creating labels for laboratory samples, particularly in the field of molecular diagnostics. The template is specifically designed to accommodate the unique requirements of p16INK4a, a protein biomarker used in the detection of certain types of cancer and other diseases. The p16 label template exclusive is engineered to provide a precise and standardized format for labeling samples, ensuring consistency and accuracy across different laboratories and research institutions. The p16 label template exclusive is a powerful


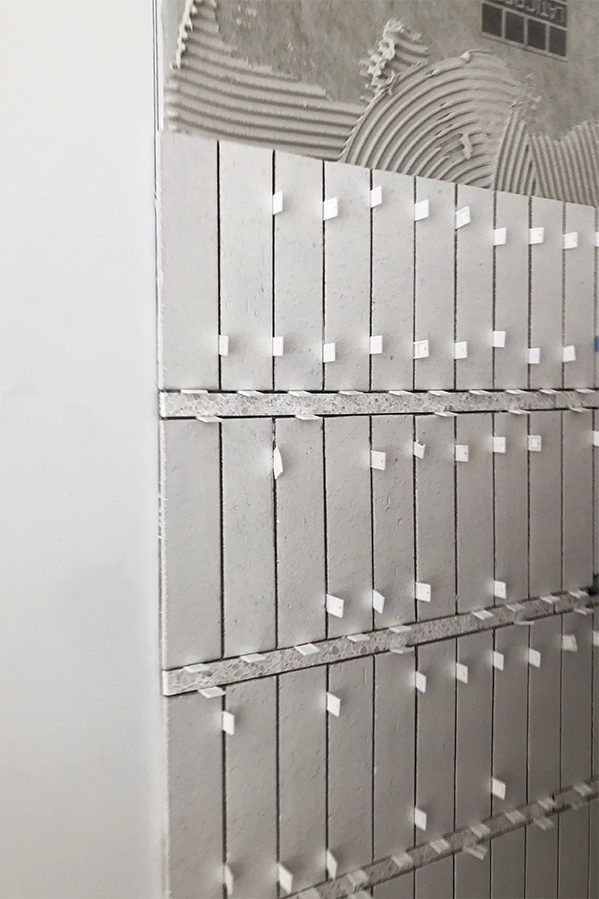
Never will there be a fancier temporary spacer than terrazzo- ha! It looks absolutely stunning.
haha right?!
I had been wondering how that thick grout line would hold up as most sanded grouts say max 1/2”! Thank you for sharing! It’s beautiful!!
Love it. I want to see your vanity! Also, are your terrazzo floors matte or glossy finish? X
I second this!! I actually came on here hoping we’d get a little morsel on the custom concrete vanity/sink. But perhaps she’s been giving it time just like this tile install before sharing.
Thank you for sharing! It turned out fabulous and I appreciate you wanting to make sure it held up well.
Hi sarah,
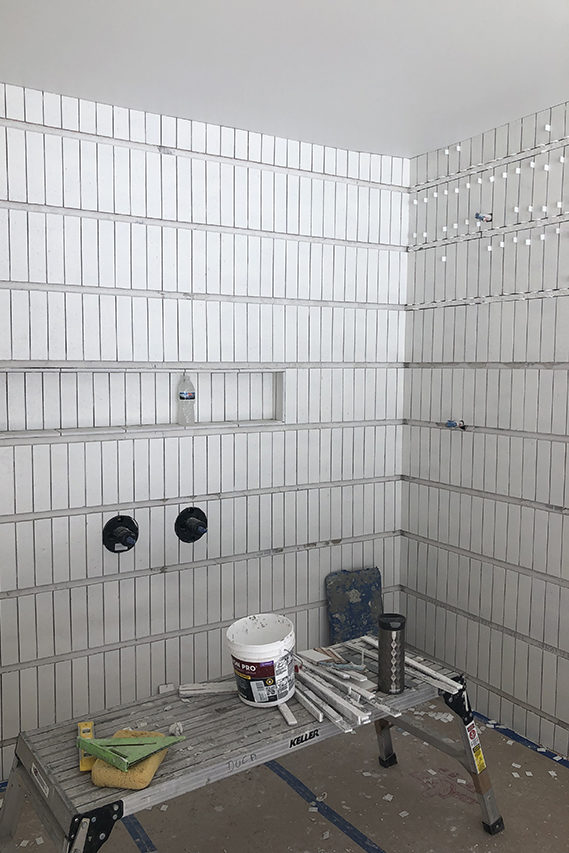
That tile is so beautiful! I want to do something similar in my shower but worried the thick grout will start to show cracks after awhile. Did you seal the grout in yours?
What mirror is that? I have been looking for a similar mirror? Is the mirror backlit?
Did you have to fill in the 1″ area of grout enough to cover the top and bottom of the tiles?
[…] matte white on the walls and the Natural Zellige on the floor. Read all about how we executed the wall tile treatment here. I designed the custom concrete vanity with an integrated sink and had it fabricated […]
I am curious if you could give any insight into how the application of the grout was done. How did you keep the one inch grout line looking smooth while also making sure to remove any grit haze from the tile? I would be afraid that as I wipe the grout off the tile face that I would mess up the finish of the thick grout line. I really want to try this but it makes me nervous!
Did you use a schluter tile edge strip where the tile transi to REGULAR wall?
Hi Gina!
No, Cle offered glazed trim tile so it looks like an edge so no need for a schluter.